How to Install Hollow Metal Door Frames?

When possible, many of us prefer to tackle a project ourselves rather than hire an expensive contractor. In terms of DIY metal door frame installation, you can complete the task in less than thirty minutes with minimal prior experience – believe it or not.
In this guide, we’ll teach you how to install a hollow metal door frame on your own. All you’ll need are the correct tools, some patience, and dedication to the project.
Typically, a metal door frame is installed when the walls of a building are framed. However, you can always do it later if you have the time and want to improve your home or shop’s look.
Without further ado, here’s your step-by-step frame installation guide. With these tips, you can save money and quickly replace your current door setup.
Tools Needed for Door Frame Installation
When you replace a door or install a new frame, you’ll need certain tools and materials. Start by collecting:
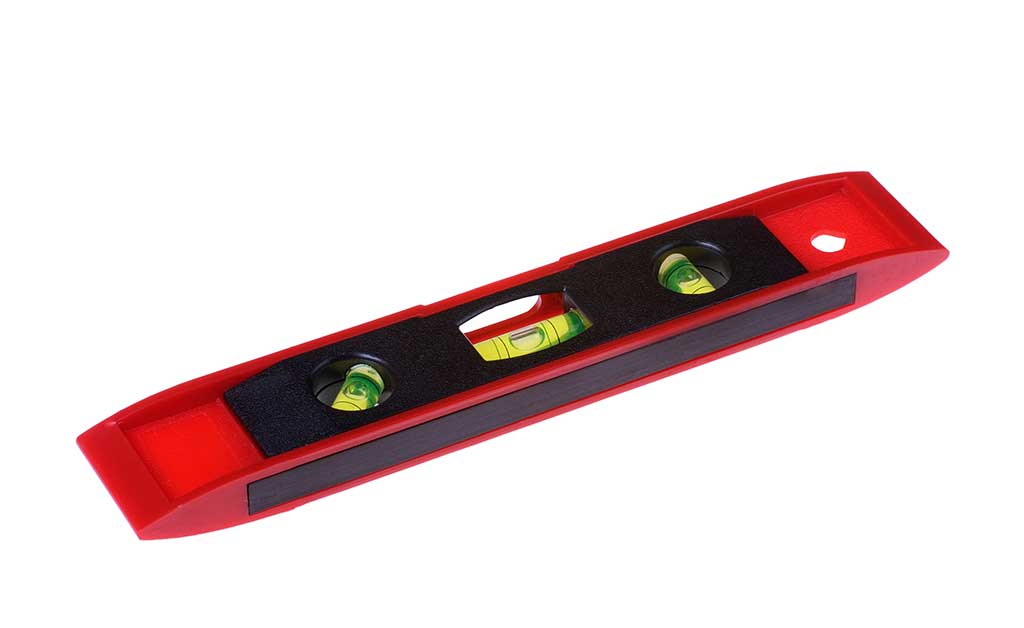
- Magnetic level
- Spreader
- Framing square
- Cordless measuring tape
- Snips
- Pry bar
- Putty knife
- Caulk
- Caulk gun
- Utility knife
- Hammer
- Casing nails
- Screws
- Wooden shims
- Trim
- Screwdriver
- Quarter-inch masonry bit
- One quarter to three quarter inch pins
As you purchase your new door and frame materials, pay attention to the tools they require. Your local hardware store should be able to guide you in the right direction.
If you already have many of these tools on hand, great! If not, you might want to consider borrowing from a friend or turning to a contractor. Buying all of these tools is a pretty big upfront investment.
Preparing to Install a Metal Door Frame
One of the most important parts of learning how to install things on your own is preparing correctly. Launching into a project with poor planning and the wrong tools is a surefire way to wreak havoc.
First things first: check your current frame. You need to know what problems you could run into, how level the currently installed frame is, and what peculiarities you might need to account for. Without taking a long hard look at your current frame, you’re walking in blind to a situation that could quickly go south.
From here, you’ll need to remove your old frame to install the new steel door or metal frame. Remove the door itself, as well as exterior and interior moldings.
Step 1: Install the Door Clips
Begin by placing three-door clips on each of the legs. These clips should come with the frame you’ve purchased, and it should be apparent how they fit in and which direction they face.
The top clips should be about 10 to 12 inches down from the top. Keep the middle ones even with the strike, and the bottom clips just high enough to stay out of your drill’s way.
Step 2: Attach a Magnetic Level
Next, lay your level across the opening of the door frame. It would help if you determined which is the high side – that’s the one you want to anchor first in any situation. Make sure the door clips are friction-fitted into place.
Now, place your frame in the opening. You should be able to bend your top clip to hold the frame in the opening temporarily.
With the high side secure, remove temporary spreaders and place your spreader into the door opening. Snap the magnetic level onto the frame head.
This is where you need to play around with shims until the frame is level. It’s a tricky part of installing any frame, but it’s absolutely essential if you want the results to function properly and look nice.
A word of caution: installing a metal door frame is different than a wooden frame. It’s much more difficult to adjust commercial metal door frames after installation, so ensure they’re completely level during the entire process.
Step 3: Drill Holes
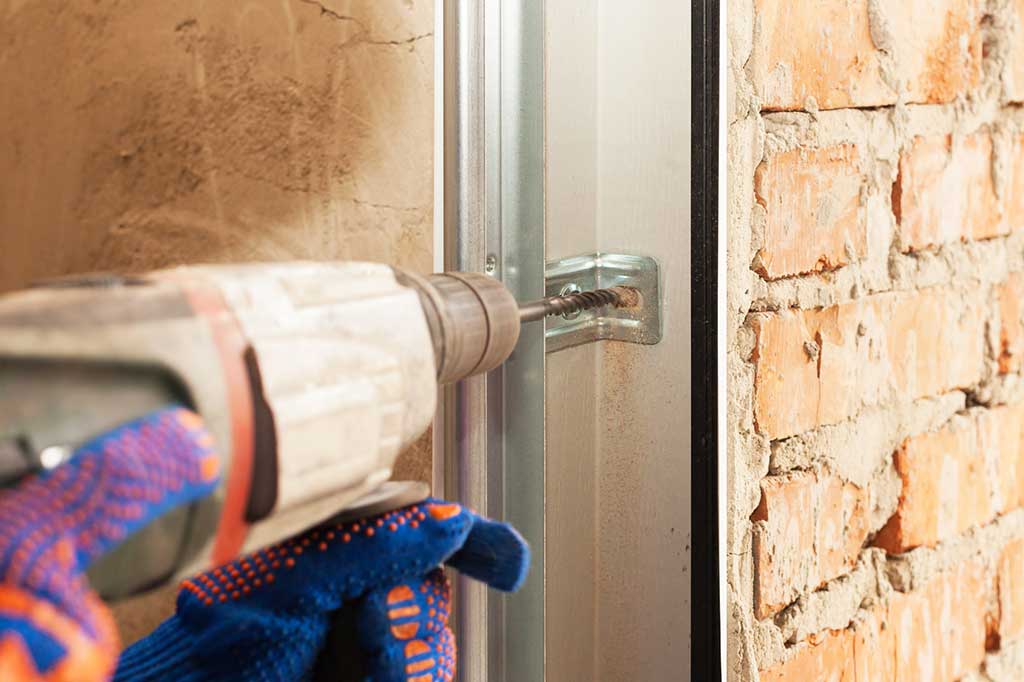
Now it’s time to pick up your drill. Create two holes, each on a floor plate. We recommend using a quarter inch masonry bit and pins that are one quarter to three-quarter inches long.
Make sure these pins are properly anchored with your hammer. Remember: the door frame needs to stay centered, so keep track of that while you’re drilling and hammering.
If your holes are larger than the screw heads you have on hand, use some washers to address the problem.
Step 4: Slide the Studs On
The next step in the door installation process requires you to slide metal studs onto each side of the door frame. These studs will be positioned against the clips. Keep the frame centered. Clamp the studs to the high-up clips, then place two self-tapping screws into them.
Step 5: Add Remaining Clips
With the top clips in place, clamp the remaining clips to the rest of the studs. Each door clip requires a half-inch tapping screw.
Now, you should be ready to leave the frame in place and add your brand new door. Of course, we always recommend reading directions on the frames and doors you purchase – they may have specific pieces of advice you need to consider.
Conclusion
The installation process doesn’t seem too bad.
Whether you’re installing commercial hollow metal doors or a simple metal door frame, these tips should help you accomplish the process on your own.
However, a word of caution: things can easily go wrong when tackling a project of this kind for the first time. This is especially true if you don’t have much experience working with doors.
That’s where we come in. At DWS Inc., we supply commercial doors, including hollow metal, aluminum, and wood doors to California residents. Our team specializes in frame and hardware supply, and we’ll quickly install your new frame with no hassle on your end.
With our help, projects are always faster, easier, and better. We pride ourselves on getting the job done right the first time. For help with your frame installation in California, contact us today. We’ll show you that we’re not just your average door company.


